
Whether you’re finalizing a real estate deal, signing a power of attorney, submitting school documents, or completing a loan application, notarizing your document is often a critical requirement. It ensures the authenticity of the signatures, verifies the identity of the signer, and deters fraud. Though the process may sound intimidating at first, notarization is straightforward and often takes just a few minutes — especially when you know what to expect.
Table Of Content
- What Is a Notarized Document?
- Why Is Notarization Important?
- How to Notarize a Document in 5 Easy Steps
- Step 1: Prepare the Document — but Don’t Sign It Yet
- Step 2: Bring Valid Identification
- Step 3: Locate a Notary Public
- Step 4: Sign the Document in Front of the Notary
- Step 5: The Notary Completes the Process
- Additional Tips and Considerations
- Conclusion
In this guide, we’ll walk you through how to notarize a document in five simple steps, from preparation to completion, so you can get it done quickly, efficiently, and correctly.
What Is a Notarized Document?
Before we dive into the process, let’s define what notarization actually is.
A notarized document is one that has been reviewed and signed in the presence of a certified notary public, who then affixes a seal and signature to confirm:
- The identity of the person signing
- That the person signed voluntarily
- That the content of the document, to the best of their knowledge, is accurate
A notary public is an official appointed by the state government to serve as an impartial witness during the signing of important documents.
Why Is Notarization Important?
The purpose of notarization is to prevent fraud and protect the rights of all parties involved in a transaction. By requiring a neutral third party to witness the signing, it becomes much harder for someone to falsify a signature or claim they were coerced.
Notarized documents are frequently used in:
- Real estate transactions
- Legal affidavits and sworn statements
- Medical and financial powers of attorney
- Adoption paperwork
- Loan agreements
- Business contracts
Now that we understand what notarization is and why it matters, let’s get into the actual process.
How to Notarize a Document in 5 Easy Steps
Step 1: Prepare the Document — but Don’t Sign It Yet

Before you meet with a notary, ensure the document is fully completed with all necessary details filled in. Do not sign the document in advance. The notary must witness your signature in real time. Signing it beforehand may invalidate the notarization.
If you’re unsure about how to fill out any part of the document, consider seeking legal assistance before visiting the notary, as notaries are not authorized to provide legal advice.
Also, bring the entire document with you, not just the page you’re signing. Some notaries may refuse to notarize a single page of a multi-page document.
Step 2: Bring Valid Identification
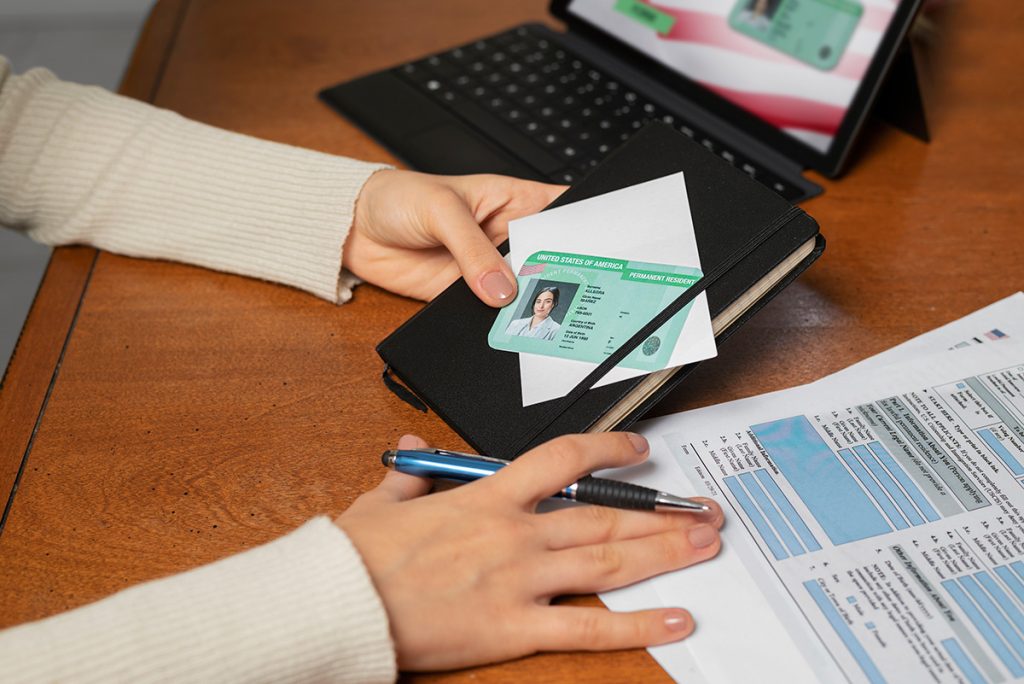
The notary must verify your identity to ensure you are who you say you are. Bring an original, government-issued photo ID such as:
- A driver’s license
- A passport
- A state or military ID
- A green card (in some cases)
The name on your ID should match the name on the document. Expired IDs are typically not accepted, so make sure yours is current and valid.
In some cases, if your ID doesn’t match or is unavailable, you may need two credible witnesses to vouch for your identity — though this depends on your state’s laws.
Step 3: Locate a Notary Public

Finding a notary is easier than you might think. Here are some common places that offer notarization services:
- Banks and credit unions – Many offer this service free for account holders.
- Law offices – Especially if you’re already working with an attorney.
- Shipping stores like UPS or FedEx.
- Libraries and courthouses – Depending on your city.
- Real estate or insurance offices
- Online notary platforms – Many states now allow remote notarization via video call.
Be sure to check hours, fees, and whether an appointment is needed. Mobile notaries are also an option — they’ll come to your home, office, or another location for an added fee.
Step 4: Sign the Document in Front of the Notary

Once you meet with the notary, they will examine your document and your ID. They may ask a few questions to confirm your understanding and willingness to sign.
Only after this review should you sign the document — never before. The notary must witness the signature to make it legally valid.
Depending on the type of document, you may also need to:
- Swear an oath or make an affirmation that the contents are true (in the case of affidavits or sworn statements).
- Provide a thumbprint (required in some jurisdictions).
Step 5: The Notary Completes the Process
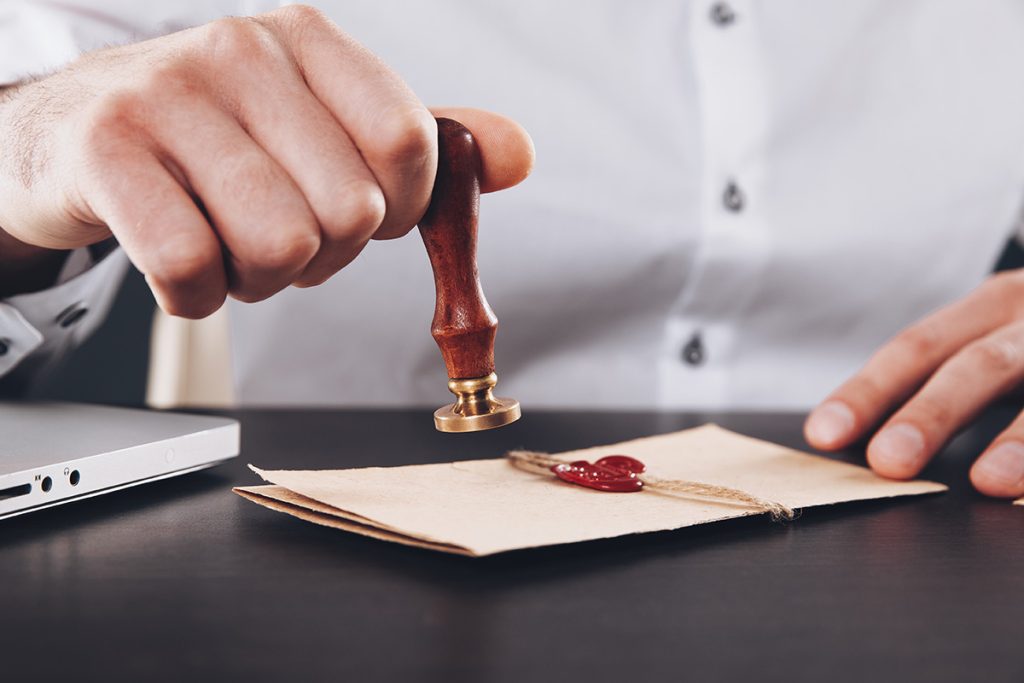
After witnessing your signature, the notary will:
- Fill out a notarial certificate
- Sign and affix their official stamp or seal
- Log the event in their notary journal (if required by law)
Once this is done, your document is officially notarized. You’ll typically receive the notarized original right away, and you can now submit or file it as needed.
Additional Tips and Considerations
- Know the type of notarization you need: Acknowledgment, jurat, or copy certification? Ask the organization requiring the notarized document if you’re unsure.
- Bring multiple copies if needed: If the same document must be notarized for different recipients, let the notary know.
- Understand the fees: Most states set limits on notary fees, but they vary. Expect to pay anywhere from $5 to $25 per signature, with mobile services often charging more.
- Remote notarization laws vary: Online notarization is legal in many U.S. states but not all. Check your state’s rules or use a verified platform.
Conclusion
Notarizing a document might seem like a minor step, but it carries major legal significance. It protects all parties by ensuring the signature is authentic, voluntary, and connected to a valid identity. Fortunately, with the right preparation, the process is quick and painless.
By following the five steps above — preparing your document, bringing proper ID, locating a notary, signing in their presence, and completing the final verification — you can confidently navigate any notarization requirement that comes your way.

